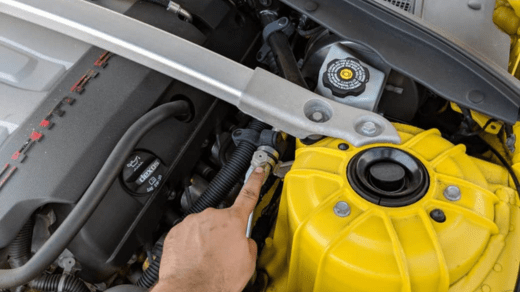
Adding refrigerant (commonly referred to as “Freon,” although it’s often another type of refrigerant) to the air conditioning system of a Chevy Cruze should be done carefully and following specific procedures. Keep in mind that adding refrigerant to a vehicle’s AC system requires knowledge and safety precautions. If you’re not experienced with automotive AC systems, it’s advisable to have a professional mechanic service your vehicle’s AC. Here are general steps:
Materials You’ll Need:
- Refrigerant (ensure it’s compatible with your vehicle)
- AC pressure gauge
- Safety goggles and gloves
- Owner’s manual (for refrigerant type and capacity)
- Service manual (if available)
Steps:
- Safety First:
- Park your Chevy Cruze on a level surface, turn off the engine, and engage the parking brake. Wear safety goggles and gloves to protect yourself from any refrigerant leaks.
- Locate the Low-Pressure Port:
- Find the low-pressure port, which is typically located on the larger diameter hose that runs between the compressor and the evaporator. It should have a black or blue plastic cap with an “L” on it.
- Inspect the AC System:
- Check your vehicle’s owner’s manual or service manual for the recommended refrigerant type and capacity. Make sure you’re using the correct refrigerant.
- Attach the AC Pressure Gauge:
- Connect the AC pressure gauge to the low-pressure port. Remove the protective cap from the port and securely attach the gauge’s fitting.
- Start the Engine and Turn on the AC:
- Start your Chevy Cruze’s engine and turn on the air conditioning to its maximum setting. This engages the compressor, which is necessary for adding refrigerant.
- Check the Current Refrigerant Pressure:
- Read the pressure on the AC pressure gauge. It should provide the current pressure reading. Compare this reading to the manufacturer’s specifications to determine if the system needs refrigerant.
- Attach the Refrigerant Canister:
- If the pressure is too low, you can add refrigerant. Follow the manufacturer’s instructions on the refrigerant canister for adding refrigerant to the system. This often involves attaching the canister to the gauge or an adapter on the low-pressure port.
- Add Refrigerant:
- Follow the manufacturer’s instructions on the refrigerant canister for adding refrigerant to the system. Typically, this involves inverting the canister to allow the refrigerant to flow into the system. Be careful not to overfill.
- Monitor the Pressure:
- Keep an eye on the pressure gauge as you add refrigerant. Stop when the pressure reaches the recommended level for your vehicle. Avoid overcharging the system, which can lead to issues.
- Disconnect and Recheck:
- Once you’ve added the necessary refrigerant, disconnect the refrigerant canister and pressure gauge from the low-pressure port. Make sure the port’s cap is securely back in place.
- Test the AC:
- Allow the AC to run for a while to ensure it’s blowing cold air. You may need to drive the car a bit to circulate the refrigerant properly.
- Check for Leaks:
- If you suspect there may be a leak in your AC system, consider having it professionally inspected and repaired. Leaks should be fixed before adding more refrigerant.
Remember that working with refrigerant can be hazardous, and improper handling can lead to injury or damage to the environment. If you’re not confident in your ability to perform this procedure or if you suspect a problem with your AC system, it’s best to consult a qualified mechanic or automotive technician who can diagnose and address any issues with your Chevy Cruze’s air conditioning system.
Also Read:
https://octopuspost.com/how-to-remove-a-bearing-buddy/
https://octopuspost.com/how-to-remove-a-broken-coolant-reservoir-cap/
https://octopuspost.com/how-to-remove-a-gmc-multipro-tailgate/


